While having fun on any terrain with your fat tire electric bike is great, unanticipated rain or riding in mud-covered trails can make it unsightly and unpleasant. Fortunately, fenders are a necessary, simple addition that protects both you and your e-bike from water, mud, and debris while you enjoy a ride. This piece narrows down the options to offer recommendations for the top choices in the market for fat tire e-bike fenders in 2025 that provide suitable fit, robustness, and sufficient protection for your journey.
Our Top Fender Recommendations for 2025

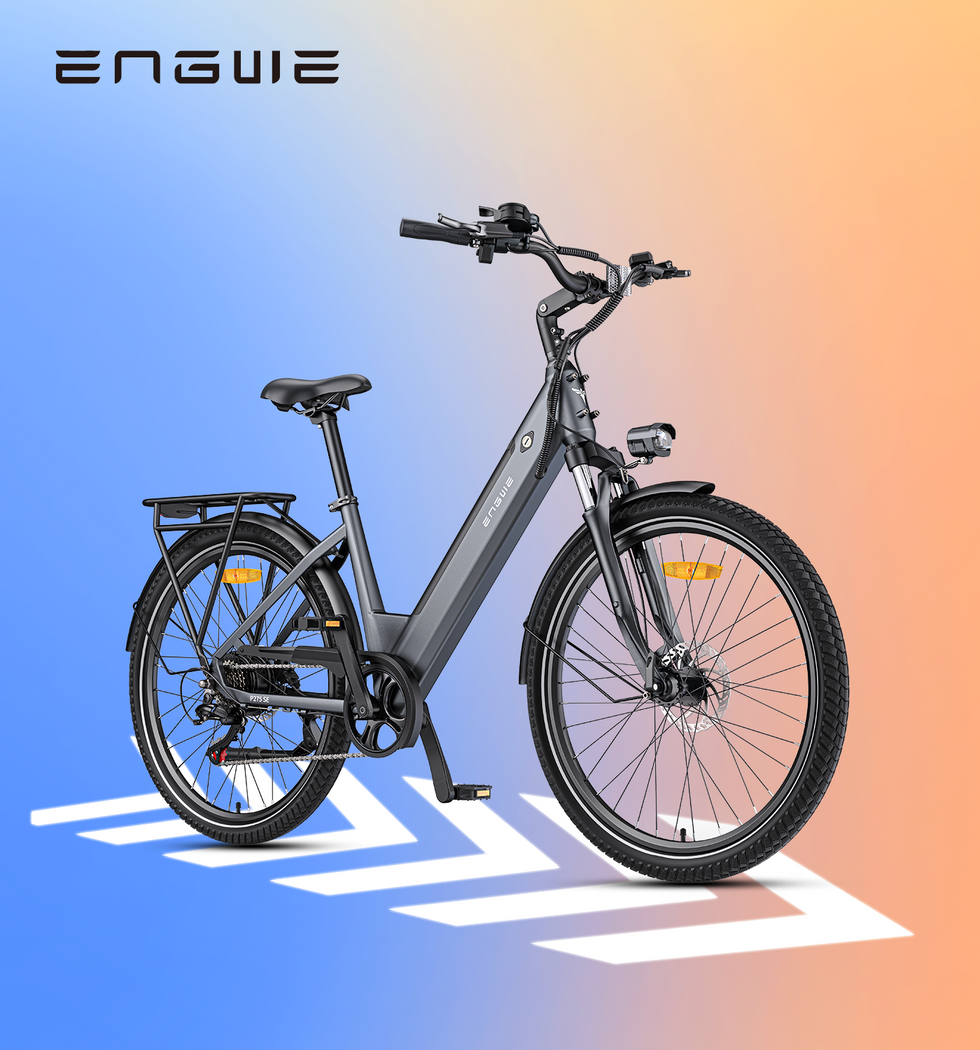
Official ENGWE Accessories: Click here to find a rich variety of accessories.
Buy NowTo truly find the ideal fender, you must first learn the top fender recommendations that guarantee quality and performance. As always, it is very easy and economical when you prioritize suppliers that ensure a perfect fit. The smartest place to start in this regard is with your e-bike’s manufacturer—many brands design their fenders to fit their models seamlessly. This is especially convenient when it comes to ENGWE riders, who are also known for building an extensive list of genuine accessories to go with their well-renowned fat tire electric bike models. Genuine, manufacturer-branded accessories guarantee perfect fitting, hassle-free installation, full coverage, and the true style of the bike's looks and design with accessories. ENGWE has various high-quality fenders designed to fit some of their most popular fat tire electric bike model specs as follows. You can check out their purpose-designed solutions offered directly on their official site. Official ENGWE Accessories: click here to find a rich variety of accessories.

Aside from specific manufacturer alternatives, many third-party brands are also reputable:
SKS Germany Fatboard Fender Set
Particularly made for serious riders, these fenders are descended from a German engineering legacy and are regarded as quality fenders. They are designed to be comprehensive fenders made of high-impact plastic to offer optimal coverage. The rear fender utilizes a quick-release mount, and a tough strap secures the front fender on the front fork. Both are adaptable to various frame and fork designs, even some suspension forks. Such mudguards are perfect all-purpose options for commuters and adventurers who ride in all weather.
Portland Design Works (PDW) Mud Shovel
Mud Shovels by PDW are well-known for their simple installation and consistent work in the fat bike community. The rear fender clasps onto the seat post, whereas the front fender brackets on the downtube, allowing it to be fitted to just about any fat tire electric bike, irrespective of eyelets. The fenders are made of two pieces to enable adaptability so one can slip them out of the way of the tire if necessary. The PDW mudguard pair is awesome due to its flexibility and performance for riders who want one fender cover for all tasks.
MUCKY NUTZ Fat Face Fender
The MUCKY NUTZ Fat Face Fender set is created for those who like the minimalist path and looks a lot like one designed for an MTB. The fender is constructed from lightweight plastics, which strap around your fork’s crossbar and lower legs using hook-and-loop fastenings, extending the rear fender over the wheel as well as the fork to a low-level fork guard. It will not deliver the same level of safety and protection as a full-fender, but that is not its function. The Mucky Nutz Fat Face Fender is a high-quality product for a very affordable price. It saves the dirt from flying directly into your mouth and tines.
Materials and Durability: A Deep Dive
The material the fender is made of has a considerable influence on its lifespan, weight, and price. High-quality ones will stay in your collection for countless wet and muddy wintertime excursions for a long time. One of the specific measures is to familiarize yourself with the advantages and disadvantages of each material. A crack that emerges in super cold or forms as if from nowhere when a stone bounces off the road will only theoretically lead to annoyance.
High-impact plastic / polycarbonate
This is by far the most prevalent fat tire fender material. The Pros and Cons of plastic fenders include:
Pros: Lightweight and flexible, much more flexible than the other materials on this list. They can handle a knock or two and straighten themselves out. This material is the most resistant to cracking and the cheapest.
Cons: It is recommended that they are used in all other conditions, but extreme cold can make them brittle. Over a long period, they may fade from prolonged exposure to UV radiation, eventually weakening.
Pro suggestion: Choose a fender with the phrase “UV-resistant treatment” in the description. It is a minor detail, but it will make a significant impact and may make your fender significantly stronger.
Aluminum
Predominantly premium full-coverage fender sets will be made from this material.
Pros: It is more stable than other options, providing very responsive feedback to the surface below. It offers an old-school, luxury look. Additionally, it does not rust, but it is quite expensive.
Cons: It is more expensive than some plastics, but upon a significant impact, they will remain bent. It is not as flexible, and the installation process may be tougher.
Steel
Steel is the heavy-duty variant of fender material.
Pros: For a high-quality steel urban fender, its sheen, installation, and straightness are not compromised, and it does not crack. Ideal for the most rugged use.
Cons: Steel is the heaviest choice by a huge margin. It is rust-sensitive if the paint is damaged.

Fender Types and Coverage Levels
One size does not suit all when it comes to fenders; instead, their style determines how well they shield you. To ensure contentment, match the fender style with your primary riding venues, whether they are everyday commuting, off-road exploration, or casual weekend outings. Selecting the wrong kind can result in undesired effects such as getting sopping wet despite using fenders or adding unnecessary weight and complexity to your electric bike.
Full-Coverage Fenders
These traditional long-form fenders wrap around the tire front and back and attach to the frame and fork with long stays for maximum balance. They require a frame and fork with mounts for appropriate fender installation. Ideal for commuter rides in all weather conditions since they offer the best protection from spray and keep the feet, back, and drivetrain much neater than the others. A full-coverage fender set is essential for any daily cyclist.
Clip-On / Strap-On Fenders
These include rear fenders that clamp onto the seatpost and front fenders that strap to the downtube. They are best suited for e-bikes without mounting eyelets, specifically those with suspension forks and complicated frame styles. Additionally, these fenders are perfect for riders who want to put on or take off fenders depending on the weather. Before purchasing, measure the seatpost’s diameter and the downtube’s circumference to ensure a secure clasp or straps.
MTB-Style (Short) Fenders
These are generally minimalist fender options. The front one is a modest plastic guard that can be installed onto the fork at its arch, whereas the rear option is a diminutive deflector that attaches to the seat rails. Designed for use on trails and mountain biking, these fenders are not designed to keep you entirely dry but to minimize the dirt spraying your face and eyes at high speed, improving visibility and concentration on muddy tracks.
Critical Installation and Compatibility Checklist
The defining factor of fender success is a proper fit. Too narrow a fit and the fender is ineffective; too wide or improperly mounted, and it will rub against the tire, creating noise and drag. A few simple measurements prior to the purchase can save time, money, and an annoying return shipment. The following is a checklist for compatibility.
Step 1: Measure the tire width precisely.
Do not rely solely on the fit on the tire’s sidewall. Inflate the tire to the preferred riding pressure, and utilize a caliper or ruler to measure the widest point of the tire. Pro Tip: The fender should be at least 10-15mm wider than the measured tire width for suitable clearance and prevention of rubbing.
Step 2: Inspect the frame and fork for mounts.
Look for small threaded holes closest to the dropouts. On the fork legs, seat stay bridge, and chainstay bridge, you need to detect these. They are called eyelets and are necessary for mounting most full-coverage fenders. The absence of eyelets equates to selecting strap-on/clip-on fenders.
Step 3: Enough Clearance.
There must be enough physical space between your tire and the fork crown, seat stay bridge, and chainstay bridge where the fender will pass through. It is a non-starter if there is insufficient clearance.
Step 4: Suspension and Drivetrain Evaluation.
If you have a front suspension fork, the fender needs to be specifically designed for it and mount to the fork lowers or arch. Assess for present or future interference with the front derailleur.
| Fender Model | Mounting Type | Max Tire Width | Primary Material |
|---|---|---|---|
| SKS Germany Fatboard | Strap-on/Quick-Release | 4.8" | High-impact plastic |
| PDW Mud Shovel | Seatpost/Downtube Strap | 4.7" | Polypropylene |
| Planet Bike Big Buck | Frame Eyelet Mount | 4.5" | Polycarbonate |
A Savvy Shopper’s Cheat Sheet to Budgeting and High-Value Finds
Finally, whether ENGWE or not, remember that investing in fenders is all about making your ride better, and the smartest buy is the one that gives the most value. You do not need top dollar to purchase because, as we’ve demonstrated above, price doesn’t necessarily directly correlate with performance. By being informed about the features that really matter and aware of the appropriate shopping choices for fender buying times and places, you will definitely succeed in capturing a set that is perfectly aligned with your budgeting plans.
What’s worth buying, if dollars do the talking?
It is also important to ensure that your nuts, bolts, and stays are stainless steel. This will prevent rust and, later, rust seizure. Naturally, stainless steel also implies ease of installation and later adjustments to perfection. A good feature on some fender sets is the safety release clips for the front full-coverage models, whose purpose is to cause the stays to disconnect if any object obstructs the fender and pulls it into the wheel, preventing possible accidents. Finally, a shrewd buy for a hard-earning rider would be the tool-free adjustability feature. Some fenders are nifty because you ride with fenders only sparingly, and sometimes you might want to remove them. Removing them with a wrench each time is tougher than using a tool-free release mechanism.
Where to buy for high-value sets?
As we’ve seen above, ENGWE has its own high standards, and there is no better place than ENGWE.com to find exactly what suits your rig. However, other good choices include other dedicated online stores, probably Amazon for a good range of comparison prices. You may also want to ask your local bicycle shop, because they can advise and assist with installation, and before leaving the shop, do make sure that all tested fenders do not rattle.
Money-saving knowledge point
In the end, a mid-range but well-advertised fender set in plastic or polycarbonate is the most value-driven. It is way tougher and gets the job done much more effectively than any obscure plastic special edition, and it costs significantly less than an aluminum set.
Q1: Do I really need both a front and a rear fender?
A: For maximum protection, yes. The front fender protects your face, legs, and drivetrain from spray. The rear fender protects your back, any cargo you are carrying, and the rider behind you. If you can only get one, start with the front to protect your vision.
Q2: Will fat tire fenders add a lot of weight or slow me down?
A: The weight of even a full-coverage set is negligible compared to the total weight of a fat tire electric bike. Any potential aerodynamic drag is minimal and far outweighed by the comfort and cleanliness benefits of riding without mud and water spray.
Q3: Is installation a difficult DIY project?
A: Installation mileage varies. Clip-on and MTB-style fenders are very easy and can be installed in minutes with no special tools. Full-coverage fenders that bolt to the frame can be more challenging and may require cutting the support stays to length for a perfect fit. Be patient! In the end, the right fenders will turn your fat tire electric bike into a true all-season machine.