Why Knowing Your E-Bike's Chain Link Count is Crucial
In the end, knowing the number of the right chain links in your ENGWE M20 e-bike is the basis of the drivetrain’s care that affects your ride’s speed, safety, and the parts' lifespan. Indeed, knowing a particular number is the right answer. However, the explanation behind this number is much more crucial. Therefore, in addition to this precise information for the M20 model, this guide can prepare you for any other situation with your e-bike’s chain, making each ride both fast and comfortable.While the exact number of chain links is a direct answer, the importance of the final count lies in the intricate functionality of the e-bike’s drivetrain. Incorrect chain length, whether it be too long or too short, can raise a series of issues, both detrimental to the fun of your ride and the lifespan of your expensive parts. For example, a brand-new replacement chain for the typical 7-speed system found on an ENGWE M20 straight out of the box will contain 116 links. After that, this standard length must be adjusted to the required length for your specific bike. The final count is the only one that ultimately holds value, and no other way exists to make sure your component functions properly without knowing it and aiming for it.
Why the Correct Chain Link Count is Critical
- Shifting Precision: A well-tensioned chain of the perfect length will allow the derailleur to switch the chain across the cassette cogs smoothly.
- Component Longevity: A chain that is too tight puts strain on the cassette’s teeth, derailleur, and motor bearings, while one that is too loose causes wasteful slapping against the frame through poor engagement.
- Power Transfer: Adequate tension ensures that every watt you and the motor generate is transferred to the rear wheel and not wasted on slippage.
- Rider Safety: A dropped or broken chain due to an incorrect count is a catastrophic scenario.
The Symptoms of an Incorrect Chain Length
- Too Long: The chain falling off the chainring or the cassette, a slapping sound against the chainstay, and an inadequately-tensioned derailleur resulting in sloppy shifts.
- Too Short: You are unable to shift into the largest cogs on your cassette, hence endangering your equipment with a groan, which will likely tear your derailleur off the hanger.
How to Determine the Perfect Chain Length
While the above information gives a user a good understanding of the standard starting number, the most liberating skill one can master is how to determine the one perfect chain length for their specific setup. Chains wear out, components might change, or setups may be modified, making reliance on a singular number inadequate. There are two primary and reliable methods for getting a new chain cut correctly. The first of these relies on using your old chain as a template, but even then, you need to be sure that it was sized properly in the first place. The second, more exact method is the only one you should ever use if you are installing an entirely new drivetrain or, for separate reasons, don’t trust the setup that you’ve inherited from a previous owner. This will give you a perfect fit completely unique to how your bike’s geometry dictates.Step-by-Step Guide to Sizing a New Chain:
The following steps outline the process:- Before you start, shift the front derailleur to the largest chainring and the rear derailleur to the smallest cog.
- Carefully thread the new, uncut chain through the front derailleur and around the largest front chainring, then bring it back and wrap it around the largest cog on the rear cassette, bypassing the rear derailleur for now.
- Pull the two ends of the chain tight until they meet. The point where the links overlap is your starting measurement point.
- From this point of overlap, you must add a certain number of links before cutting. For a bike with a rear derailleur like the ENGWE M20, you add one single full link (composed of one outer and one inner section), which is where your master link will connect.
- Use a high-quality chain tool to drive the pin out, removing the excess section of the chain.
- Finally, feed the new, correctly-sized chain through the rear derailleur and use the master link to join the two ends.
Tools of the Trade:
- Chain Tool
- Chain Pliers
- Protective Gloves
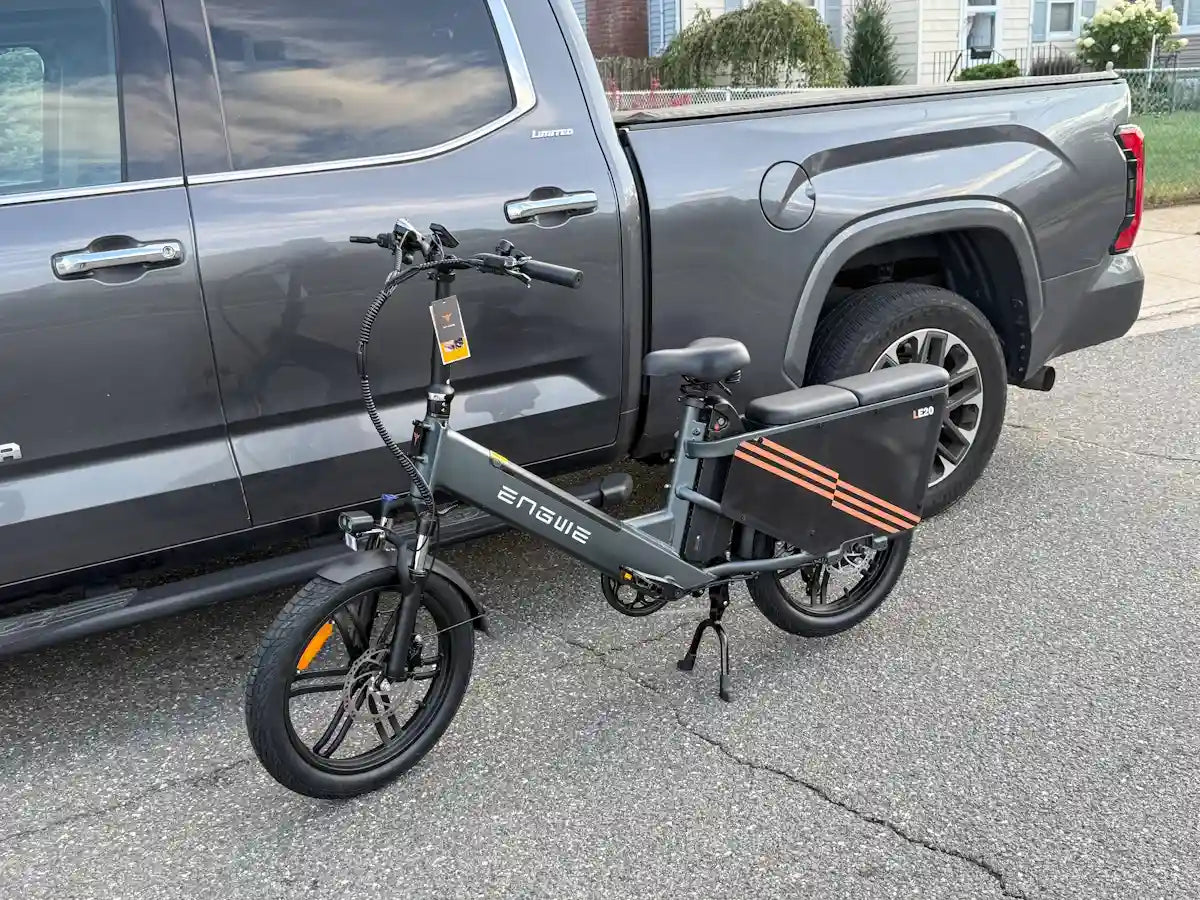
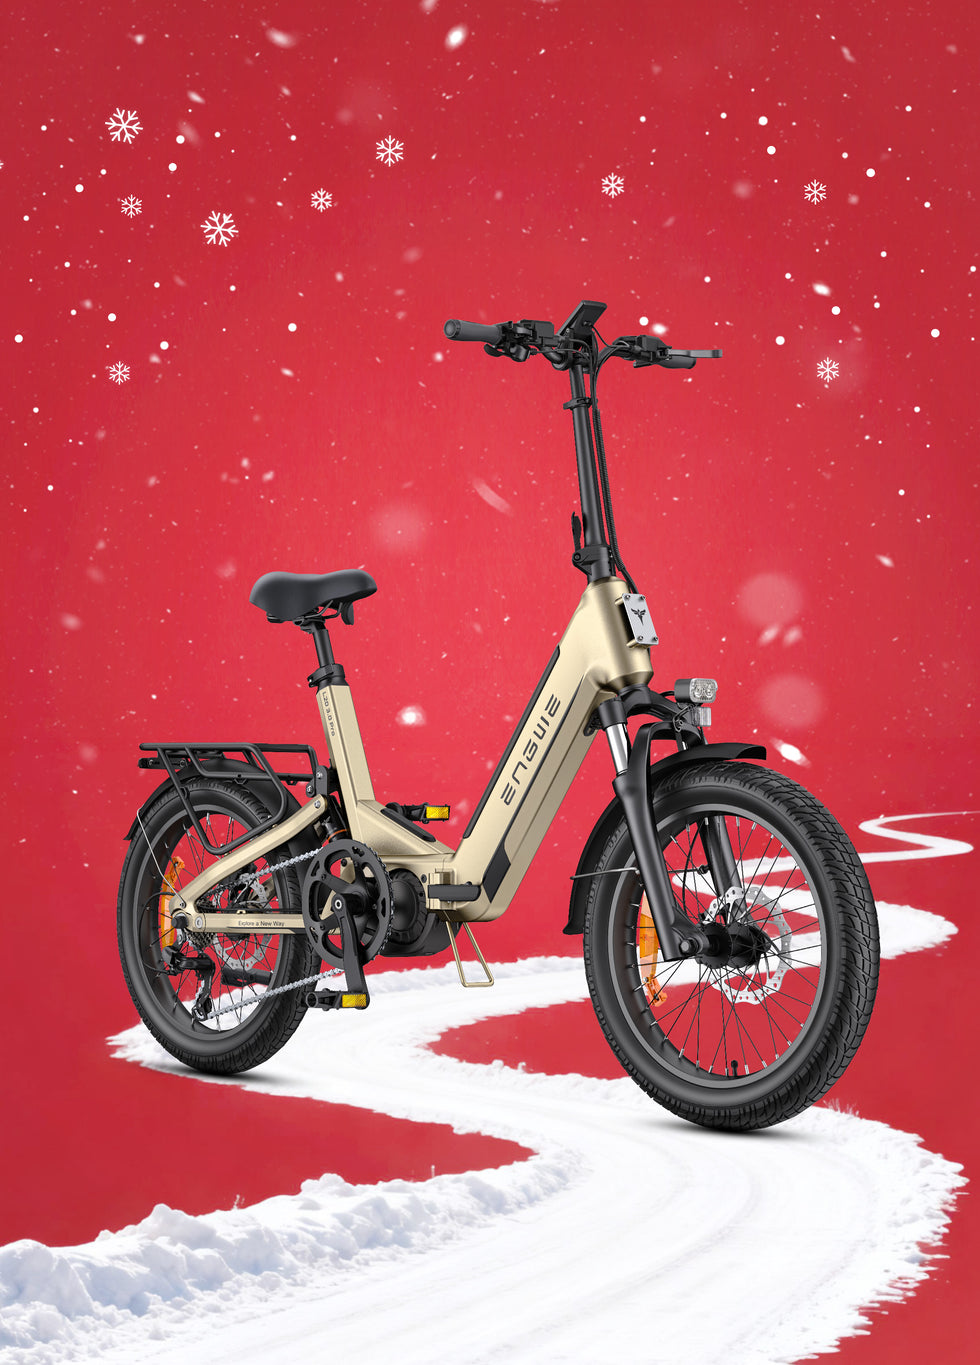
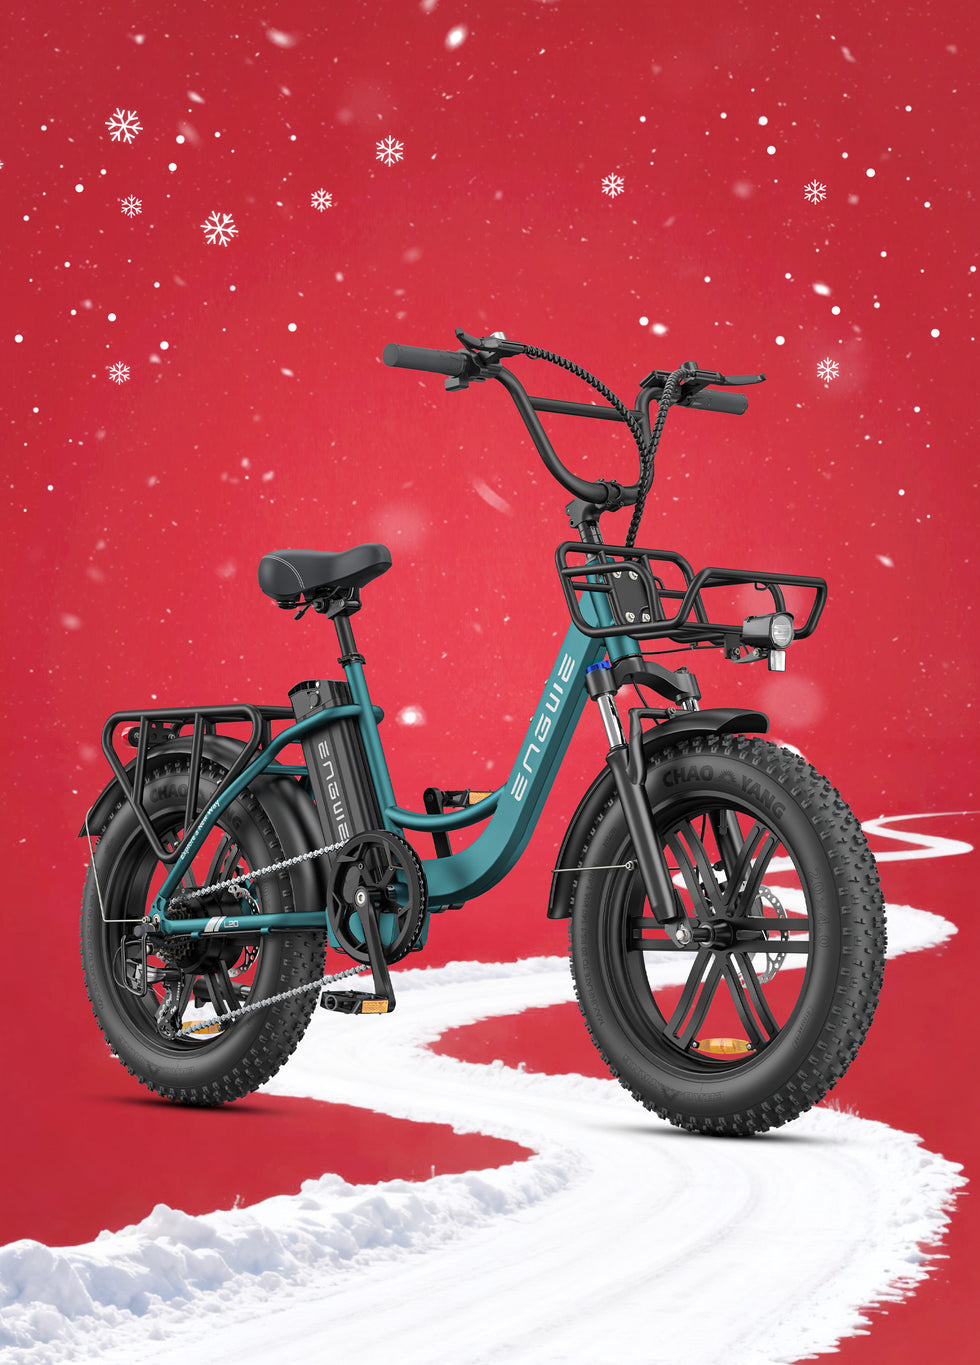
ENGWE M20: Chain Sizing and Replacement Guide
The ENGWE M20 is an extraordinary electric bike known for its rugged fat tires and powerful motor, providing an exhilarating ride on any terrain. With robust and broadly compatible components, ENGWE has developed this bike, making maintenance simple. A standard 7-speed chain is used in the M20’s standard drivetrain, but the secret to its efficiency is combining its strong motor with a well-maintained, properly sized chain. You must acquire a chain that can handle the elevated torque demands of an electric bike to ensure its durability and reliability if the time comes to replace it. Because the M20 provides so many impressive features that you may be able to utilize its full extent without fear, purchasing an excellent chain is a tiny step that will preserve a more significant investment. The following are some critical issues to consider when purchasing a replacement chain for an ENGWE M20.
This table summarizes the key features you should prioritize when selecting a new chain for your e-bike. While shopping for a new chain for an e-bike, you should focus on certain key features.
| Feature | Benefit for E-Bike Riders |
|---|---|
| Speed Compatibility | Equals the number of cogs on the rear cassette (e.g., 7, 8, 9-speed). It offers secure and efficient shifting. |
| Surface Plating | Coatings such as nickel or chrome on the chain plates offer corrosion-resistant properties and durability against weather elements. |
| Pin Strength | The riveted strength that holds the chain plates intact is necessary for withstanding the sudden and high levels of torque generated by the e-bike motor. |
| Quick-Link | A unique master link for opening and closing the chain without tools. It makes chain cleaning, maintenance, and trailside repairs easy. |
Chain Maintenance for Longevity
Proactive maintenance is key to extending the life of your chain and, more importantly, saving your hard-earned money on expensive component replacements. The term “stretched” is used to describe a worn chain; however, a worn chain does not actually stretch. Instead, the pins and bushings wear out, increasing the distance between each link. This longer chain no longer rides perfectly on the teeth of the cassette and chainring; it acts as a file and rapidly wears them down. A new chain is cheap, while a new cassette and chainrings can be a significant expense. Therefore, regular cleaning, appropriate lubrication, and a timely replacement are the best techniques to keep your drivetrain happy.A Simple Chain Care Regimen:
- Clean Often: Detach and clean the chain with a degreaser, then carefully clean the dirty old lubricant and mud out of the bushings on the chain’s inside before wiping it dry with a rag.
- Lubricate Properly: Apply a single drop of high-quality bicycle chain lubricant to each roller on the inside of the chain. Wait a few minutes and then wipe all excess lubricant away with a clean cloth to prevent it from attracting more dust.
- Check for Wear: Use a chain wear tool to gauge chain wear. These inexpensive devices typically have two gauges, 0.5 percent and 0.75 percent. Check the chain every few hundred miles. If the 0.5 percent side drops into the chain, it warns that replacement time is coming up. If the 0.75 percent side drops in, you must change the chain right away. This will save you from a much bigger bill.