While a flat tire on your powerful fat tire electric bike can be intimidating, it is a perfectly manageable repair with this guide. Instead of letting professionals take care of your repair, this guide removes any guesswork and offers a clear, step-by-step process for all users, professionals and beginners alike. From the initial preparation to the final safety checks, this guide prepares you to confidently complete this essential maintenance without having to go to the bike shop and spend money.
Dimension 1: Pre-Job Preparation: Gathering Tools and Setting Up
Before you get your hands on the axle nuts, meticulous preparation is the single most critical factor for a successful and quick tire change. Approaching the work without the necessary tools or a clean workspace results in frustration at the very least, time wastage, and potential damage to your electric bike. If you spend just ten minutes preparing, you set the scene for the job to take minutes, not hours. This phase not only ensures you have everything you need at an arm’s length but also makes sure your e-bike is stationary and well-prepared for a mechanical operation.
Essential Tool Checklist:
- Adjustable wrench or a socket set: You need the right size for your bicycle's axle nuts, which are notoriously big on e-bikes.
- Heavy-duty tire levers: Fat bike tires have stiff sidewalls, and fragile tire levers will snap. Invest in a set of heavy-duty plastic or metal core tire levers.
- High-volume air pump or air compressor: A floor-style pump with a pressure gauge is optimal. A small hand pump will take hours to inflate a fat tire.
- A new fat bike inner tube or a tire: Make sure it is the same size as the numbers inscribed on your current tire's sidewall, e.g., 20 x 4.0.
- Gloves: To keep your hands clean of road grime and greasy spots.
Workspace and Bike Positioning:
- Pick a clean, flat, and well-lit area for work.
- Carefully turn the electric bicycle upside down, resting it on the handlebars and saddle for increased ease of access. Place a soft cloth underneath to avoid scratching.
Alternatively, a heavy-duty e-bike repair stand is an even safer alternative because it provides a secure platform with enough space for all elements to do their job effectively.
Dimension 2: The Removal Process—Wheel and Tire Disassembly
Proper removal of the wheel and old tire is accomplished with the same thoughtful attention to detail. This is more than just unbolting an axle on a fat tire e-bike, especially on a rear wheel with a hub motor. This section will guide you through the removal process of the wheel to safely handle all the electrical wires. Removing a wheel on a fat tire e-bike calls for a selective strategy rather than a mechanical brawl, for example, when unseating a wide, stubborn bead.
Remove your e-bike wheel
Ensure you disconnect the motor connector before you try to remove the heavy wheel. You’ll find a quick-disconnect plug for the hub motor—there may even be alignment arrows to help with proper reassembly. However, loosen the e-bike's brake caliper to ensure it is not damaged during wheel removal. Remove the axle nuts, then remove the old tire.

Dimension 3: Selecting Quality Replacements and ENGWE-Approved Gear
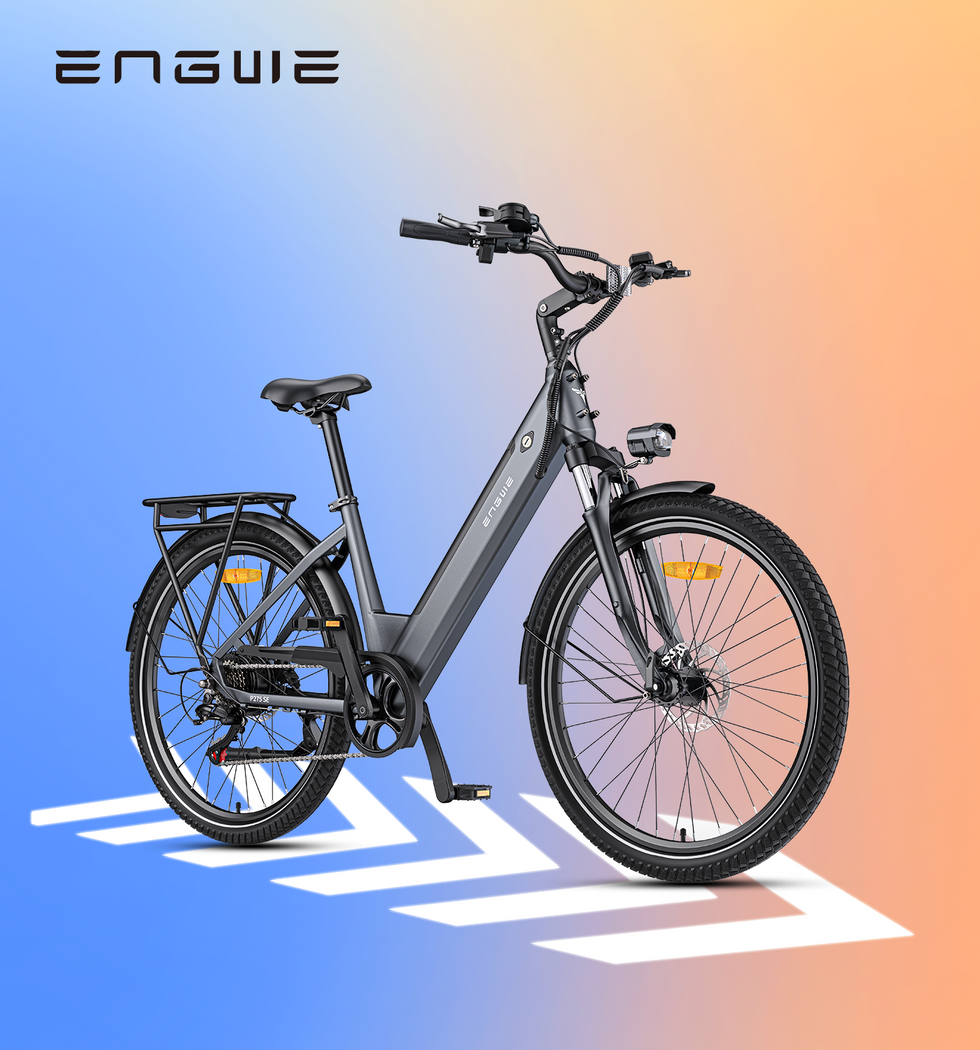
Picking the right replacement tire and tube is paramount to restoring your e-bike's performance and ensuring your safety. Many manufacturers design their components to work with a specific brand’s e-bike – and nothing can outperform these parts in customer experience. This is where ENGWE and similar brands’ expertise come in handy. To extend the lifespan and performance of their high-end products, they assemble a wide range of top-quality accessories. Using genuine or recommended e-bike components ensures a perfect fit, following your original performance expectations, and peace of mind. ENGWE designs its products to function as a system – and our replacement products are no exception. You can trust our replacement tires will get you back on the road with the same level of reliability and power.
Recommended ENGWE Replacements:
ENGWE Fat Tires:
Directly sourced from the factory, our fat tires are the exact specification used in the ENGINE PRO or EP-3 PRO. The perfect dimensions, durability, and tread pattern ensure your e-bike handles safely, with optimal motor efficiency.
ENGWE Inner Tubes:
They use quality, thick rubber and the ideal valve type/length for fat tire rims. The ENGWE deep fat tire requires a flexible but reliable inner tube to adapt, ensuring you get a long-lasting seal and easy inflation.
ENGWE Accessories:

Official ENGWE Accessories: Click here to find a rich variety of accessories.
Buy NowWhy not purchase an ENGWE-approved portable pump or a multi-tool while buying a tire? Such accessories will make fixing a future puncture quick and easy.
View the full selection at our store: Official ENGWE Accessories
| Feature | Description | Importance |
|---|---|---|
| Tire size (e.g., 26×4.0) | The diameter and width of the tire measured in inches. The sidewall also lists the recommended inflation pressure in "pounds per square inch (psi)". | It must match the frame and rim of your e-bike to operate. |
| Puncture protection | An extra layer of tough material under the tread. | Reduces flats, which is important for heavier e-bikes. |
| Tread pattern | The design of the tread, including the knobs and grooves. | Select a pattern suitable for your primary riding surface. |
| Valve type | Usually Schrader (car-type) or Presta. | Must match the hole in the rim and be compatible with your pump. |
Dimension 4: The Installation: Mounting the New Tire and Reinstalling the Wheel
This is basically just the reverse of removal, but the real challenge is avoiding common mistakes. The most common mistake is pinching the new inner tube. A pinch flat, also known as a “snake bite,” occurs when the tube is pinched between the tire lever and the rim during installation. This will make small holes in your new tube before you even get the chance to ride. Go slow, and use the proper technique: you should be able to get most of the tire on by hand, and only need the levers for the final section.
Mounting the New Tire and Tube
- Inspect the Rim: Run your fingers along the rim’s inside to check for any sharp points or pieces of debris that can puncture your new tube.
- Mount One Side: Work one bead of the new tire onto the rim. This should be an easy fit.
- Insert the Tube: Inflate the new tube just enough to give it shape. Insert the valve through the valve hole in the rim, then carefully tuck the tube into the tire cavity.
- Seat the Second Bead: Starting exactly opposite the valve, use your thumbs to seat the second tire bead into the rim channel. Work your way around both sides towards the valve.
- The Final Section: The last 12 inches are going to be the tightest. Pushing the tire bead into the center of the deep rim channel as far around as you can will give you some slack to make the last tight section easier. Use the levers carefully only for the last section, keeping them away from the inner tube to avoid pinching.
Reinstalling the Wheel on the E-Bike
- Carefully slide the wheel back into the frame’s dropouts.
- Reinstall the axle washers and nuts in the correct order.
- Reconnect the motor cable, ensuring the alignment arrows are pointing the right way.
- Reattach or tighten the brake caliper if you loosened it.
- Hand-tighten the axle nuts, and then give them a final, firm tightening with the wrench.

Dimension 5: Final Checks and Long-Term Maintenance Tips
Congratulations! You have successfully replaced the tire, but you’re not quite done yet. The final steps are easily the most important for your safety. Everything depends on a properly inflated tire, a bead seated evenly, and your brakes and motor functioning properly. A poorly executed final check can result in a bad ride, premature tire wear, and even a crash. Moreover, by adopting some simple maintenance tips, you can dramatically decrease your chance of getting a flat in the future and save time and money.
Post-Installation Safety Checks:
- Inflation and Bead Seating: Inflate the tire to approx. 20 PSI. Stop and check each side of the tire: the bead seating line should be visible and evenly spaced just above the rim. If it’s not, deflate the tire, realign it, and then reinflate. Once the line is seated correctly, inflate the tire to the recommended pressure indicated on its sidewall.
- Brake and Drivetrain Check: Rotate the wheel: it should spin freely and not come in contact with the brake pads or the frame. Squeeze the brake lever to ensure that the brakes are functional.
- Motor Function Test: Keeping the tire off the ground, turn the e-bike on and twist the throttle slightly to ensure the motor functions correctly.
Pro-Tips for Tire Longevity and Flat Prevention:
- Check Pressure Weekly: Proper pressure is your number one protection from flats and guarantees that your range and handling characteristics will be optimal.
- Use Tire Sealant: Adding sealant inside the inner tube can automatically seal small punctures from thorns or glass.
- Ride Smart: Avoid riding through glass and debris on the road.
- Regular Inspection: Regularly inspect your tires and remove any embedded glass or sharp objects before they can cause a puncture.
What’s the most common mistake and how can you avoid it?
The biggest one is pinching the new inner tube with a tire lever during installation. This will cause a puncture before your first ride. Avoid it by using your hands as much as possible and only using levers for the last tight section, being very careful to keep the lever away from the tube.
How tight should the axle nuts be?
They should be very tight. This ensures the wheel will not move under motor torque. Use a wrench to tighten them firmly, but be careful not to strip the threads. A good rule is to tighten them as firmly as you can with a standard-length wrench.
Why does my new tire look wobbly when I spin the wheel?
This means the tire bead is not seated evenly on the rim. Deflate the tire, push the bead off the rim, and then carefully reinflate, watching the bead line to ensure it seats evenly all the way around.
With this knowledge, changing a fat tire will be a breeze.