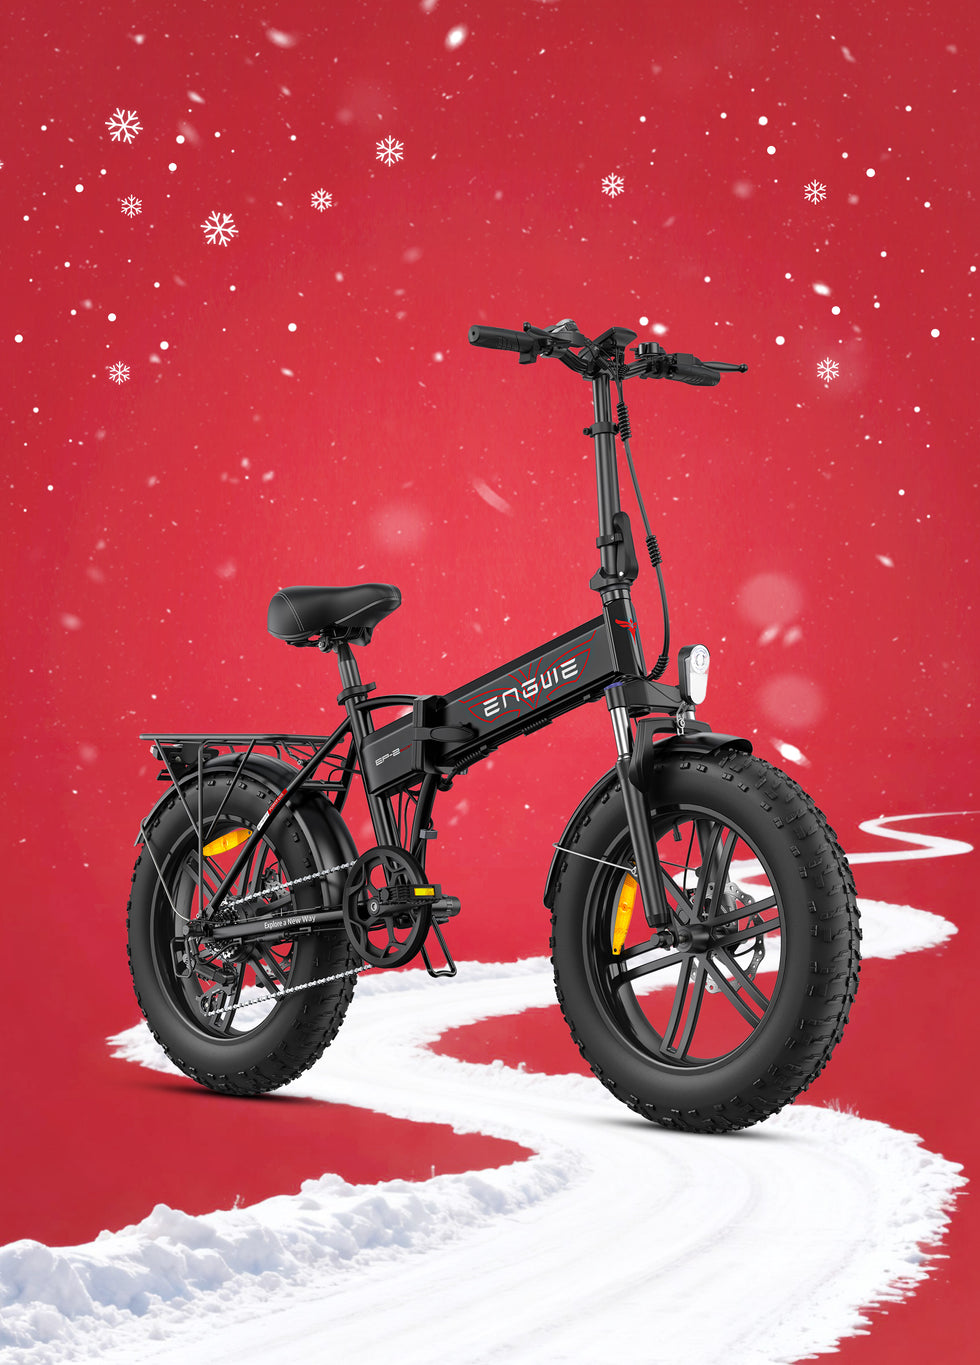
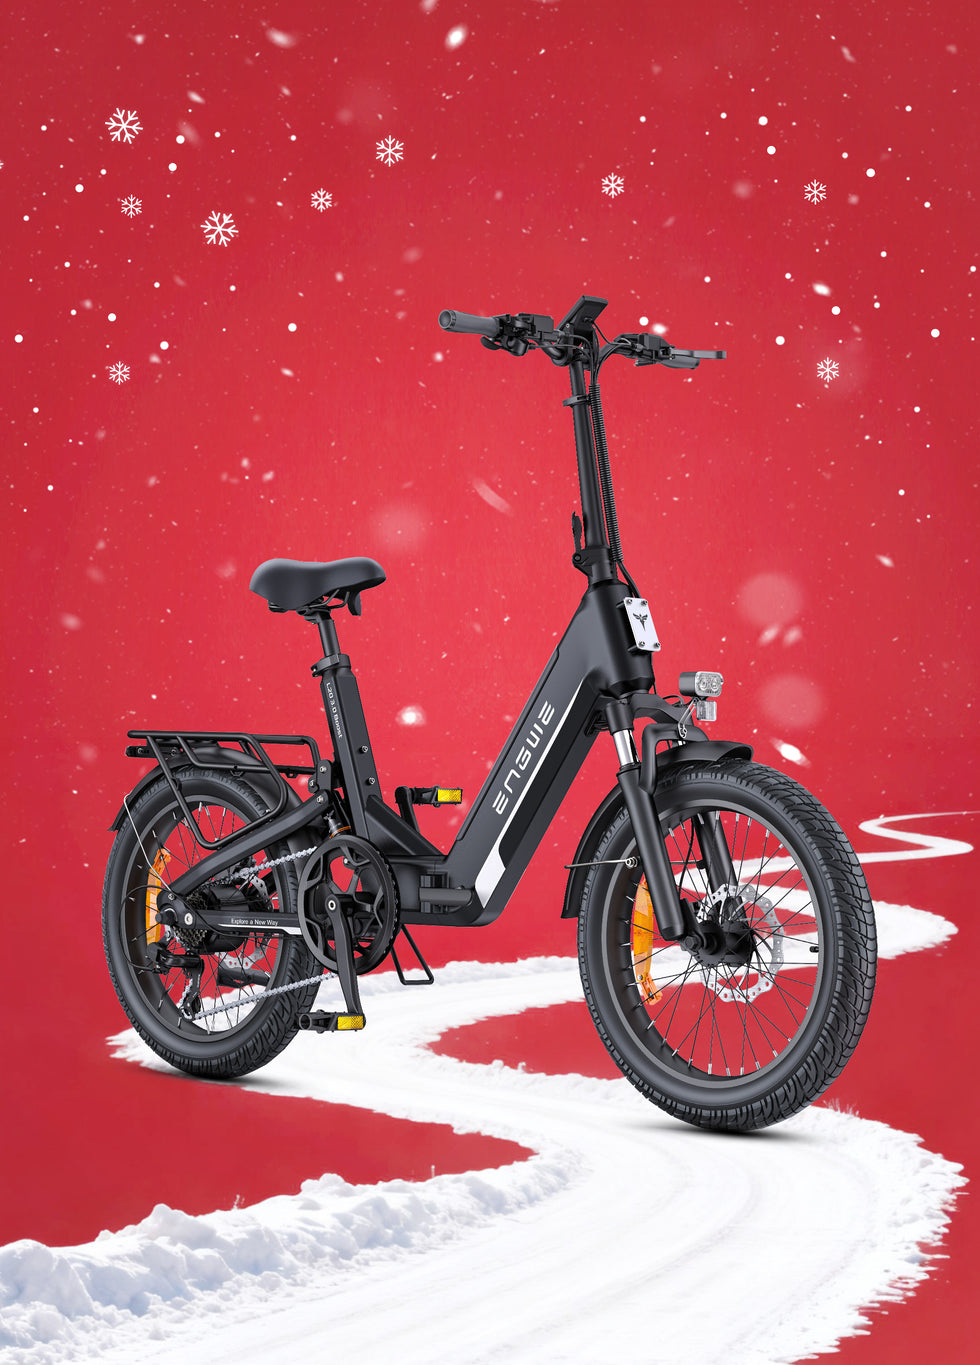
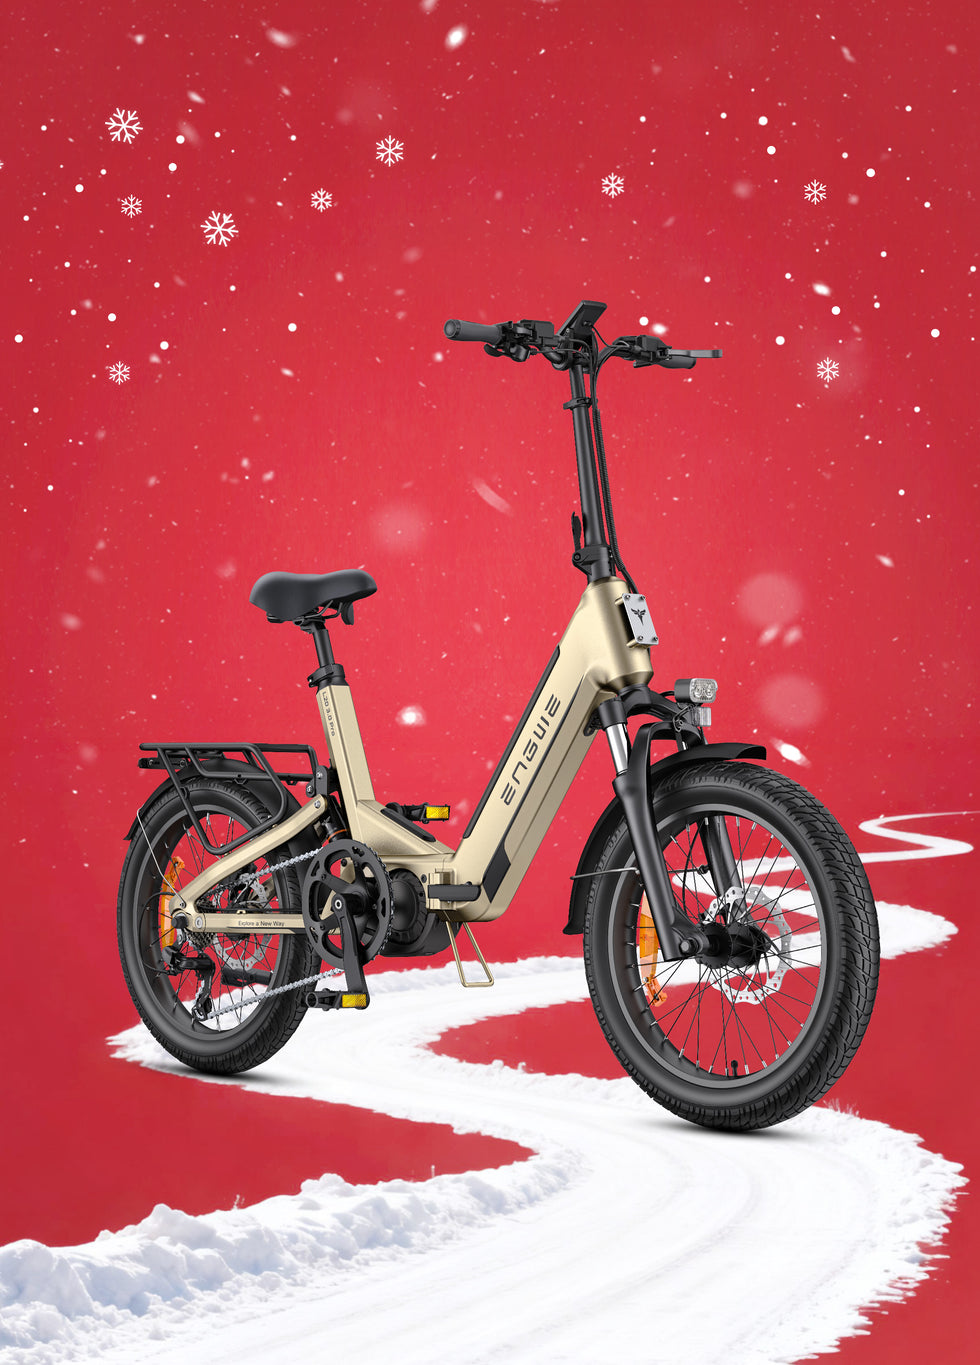
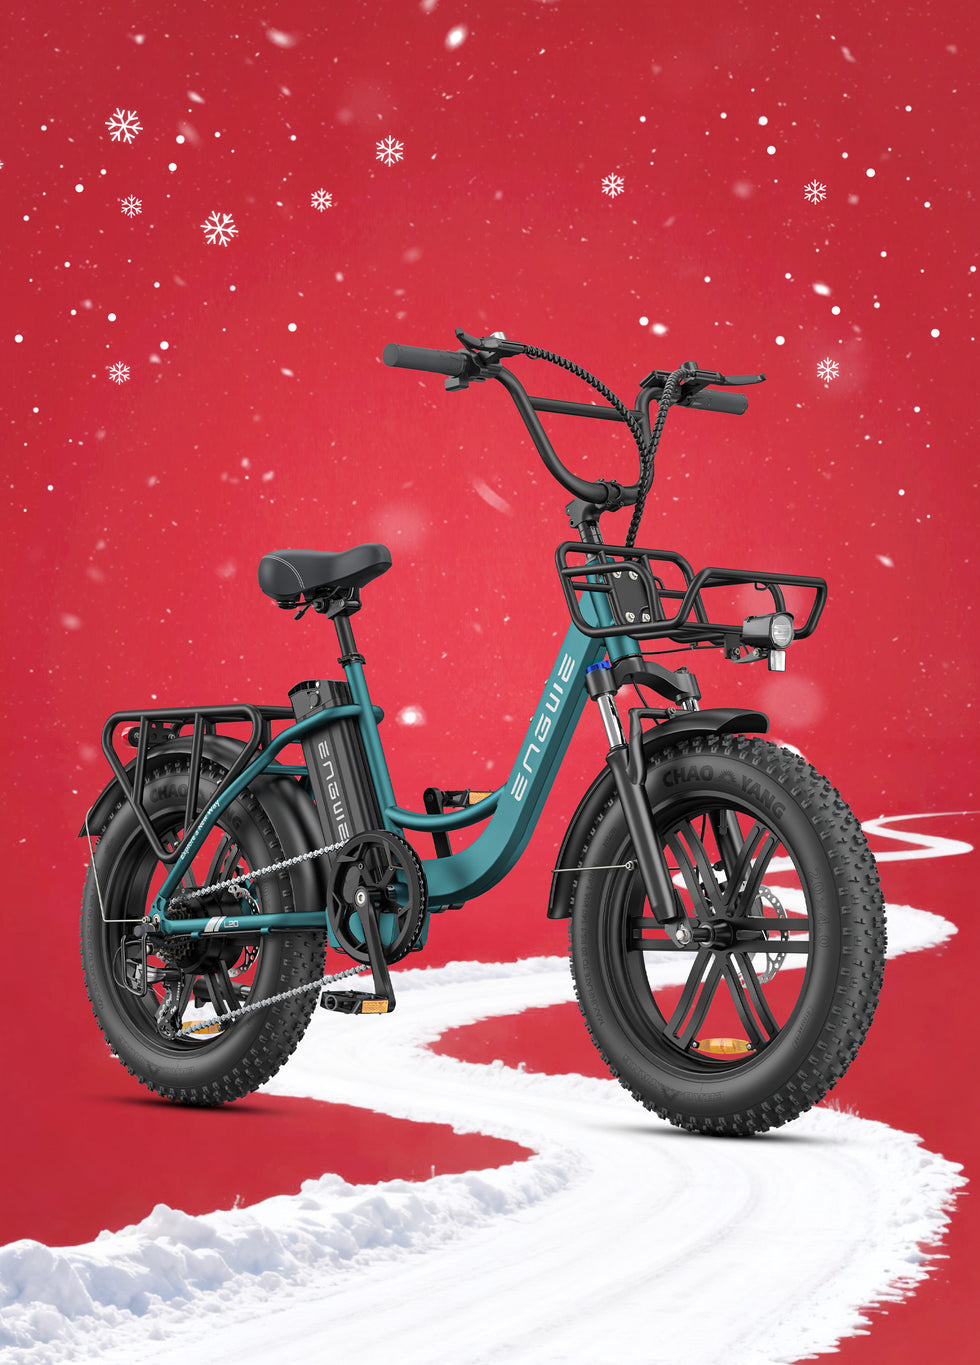
Unboxing your first electric bike is a moment filled with excitement and possibility. You see the gleaming frame, the neatly integrated battery, and you can already imagine the wind in your hair as you conquer hills and cruise along city streets. But this excitement is often followed by a flicker of uncertainty. How does this actually work? What do these buttons do? This guide is designed to transform that uncertainty into confidence, walking you through everything you need to know to get the most out of your new ride, from the first pedal stroke to mastering your daily commute. We will break down the process into simple, actionable steps, ensuring you feel like a seasoned pro in no time.
| Section Heading | The User's Underlying Question | How This Article Provides the Solution |
|---|---|---|
| Your Pre-Ride Safety Checklist | I've assembled my e-bike, can I just jump on and go? | Provides a simple, memorable checklist (like the 'M-Check') for essential safety inspections covering tyres, brakes, and fit before every ride. |
| Understanding the Controls and Power | What do these buttons and the screen mean? How do I make it 'go'? | Demystifies the handlebar controls, explaining the function of the power button, display, and crucially, the different levels of Pedal Assist (PAS). |
| Your First Ride Experience | I'm a bit nervous. What will it feel like and how should I start? | Offers a step-by-step guide for a safe and enjoyable first ride, from choosing a location to understanding the sensation of the motor assist kicking in. |
| Combining Gears and Power for a Perfect Ride | How do I use the gears and the electric power together effectively? | Explains the synergy between mechanical gears and electric assist levels to tackle hills effortlessly and cruise efficiently on flat terrain, maximising range. |
| Finding Your Perfect Commuting Companion | What features should I look for in a good electric bike for commuting? | This section details the key attributes of an ideal city e-bike, using a specific, high-quality model as a benchmark for what users should expect. |
| Essential Battery Charging and Care | How do I charge the battery and make it last as long as possible? | Gives clear, practical advice on best practices for charging the battery to prolong its life and ensure consistent performance and safety. |
Your Pre-Ride Safety Checklist
Before you even think about turning the power on, it’s crucial to treat your e-bike like any other bicycle and run through some basic safety checks. The extra weight and speed of an electric bike make this step even more important. A good habit is to perform an 'M-Check'. Imagine drawing the letter 'M' over your bike, starting at the rear wheel, up to the saddle, down to the pedals, up to the handlebars, and down to the front wheel.
As you trace this path, check the following:
1. Rear Wheel
Is the tyre properly inflated? Check the sidewall for the recommended pressure (PSI). Is the wheel securely attached?
2. Saddle and Frame
Is the saddle at the correct height? A good starting point is to have it level with your hip bone when you're standing next to the bike. When seated, your leg should have a slight bend at the bottom of the pedal stroke.
3. Pedals and Cranks
Give the pedals a spin and wiggle the crank arms. Everything should feel solid and secure.
4. Handlebars and Brakes
Are the handlebars tight? Squeeze the brake levers. They should feel firm, not spongy, and stop the wheel effectively when you push the bike forward.
5. Front Wheel
Just like the rear, check the tyre pressure and ensure the wheel is securely fastened.
Taking just 60 seconds to do this before every ride builds a great habit and ensures your machine is safe and ready to perform.
Understanding the Controls and Power
This is where an electric bike differs from its traditional cousin. On your handlebars, you’ll typically find a small control unit with a display. First, locate the power button, usually marked with the universal power symbol. A long press will bring the display to life, showing you key information like your current speed, battery level, and the selected Pedal Assist System (PAS) level.
The PAS is the heart of your e-bike experience. It's a system that uses a sensor to detect when you are pedalling and tells the motor to provide assistance. This is not a motorbike; you must pedal for the motor to help you. Your control unit will have 'up' and 'down' buttons (often '+' and '-') to cycle through the PAS levels.
Level 0 or 'Off'
No assistance. It's just a regular, albeit slightly heavy, bicycle.
Level 1
The lowest level of assistance. Perfect for gentle cruising on flat ground or when you want to conserve battery.
Levels 2-5 (or more)
Each level provides a more significant push. Level 5 will make you feel superhuman, flattening hills and accelerating quickly from a standstill. Experimenting with these levels is key to understanding your bike.

Your First Ride Experience
For your very first ride, find a large, empty, and flat space like a vacant car park or a quiet park. This allows you to get a feel for the bike without the pressure of traffic.
1. Start with the power OFF.
Pedal the bike around for a minute to get used to its weight and handling.
2. Come to a stop.
Turn the power ON and select PAS Level 1.
3. Start pedalling gently.
After a moment, you will feel a smooth, gentle push from the motor. It’s a fantastic sensation. The key is to pedal smoothly and consistently.
4. Ride around, practicing gentle turns and using the brakes.
E-bike brakes are often more powerful (especially hydraulic disc brakes) to handle the extra speed and weight, so be gentle at first.
5. Once you feel comfortable, try cycling through the different PAS levels.
Feel the difference in acceleration and power as you move from Level 1 up to Level 3, and then to Level 5. Notice how much easier it becomes to get up to speed.
The goal of this first ride isn't to go far or fast, but to build a relationship with your bike and understand how it responds to your input.
Combining Gears and Power for a Perfect Ride
Many newcomers to e-bikes forget they still have traditional gears, but using them in harmony with the PAS is the secret to a supremely efficient and enjoyable ride. The rule of thumb is simple: use your gears for the terrain, and use the PAS for your desired level of speed and effort.
For Hills
Before you start climbing, shift to a lower (easier) gear, just as you would on a normal bike. Then, increase the PAS level to 3, 4, or 5. The combination of the easy gear and the powerful motor assist will make you feel like you're floating up the hill with minimal effort.
For Flat Terrain
Shift into a higher (harder) gear to travel at a good speed. You can then use a lower PAS level (like 1 or 2) to maintain that speed easily, which is fantastic for conserving battery life on long journeys.
For Starting from a Stop
It's always best to be in a lower gear when you stop. This makes it much easier to start pedalling, allowing the motor to kick in smoothly and get you up to speed quickly and safely, especially at junctions.

Finding Your Perfect Commuting Companion
When you're looking for an electric bike, especially for city commuting, certain features elevate the experience from good to exceptional. The goal is a ride that feels natural, safe, and effortlessly integrated into your daily life. An intuitive feel is paramount, often delivered by a sophisticated torque sensor which measures how hard you're pedalling and matches the power output accordingly, creating a seamless extension of your own effort. For a reliable daily commuter, a long range is essential; modern batteries can offer up to 100 km on a single charge. Safety is non-negotiable, which is why powerful and responsive hydraulic disc brakes are a must-have for confident stopping in all weather conditions. For true convenience, a removable battery allows for easy charging indoors. The ENGWE P275 SE is an outstanding example of a city electric bike that integrates these premium features perfectly. It is built around a powerful 250W brushless motor paired with an incredibly smart torque sensor, delivering an instantly responsive and natural-feeling ride. Its high-capacity 36V 13Ah removable battery provides an impressive 100 km maximum range, while the Shimano 7-speed transmission and 160mm hydraulic disc brakes ensure you have complete control. The design thoughtfully promotes a comfortable, upright riding posture, making every journey a pleasure rather than a chore.

Essential Battery Charging and Care
The lithium-ion battery is the most expensive and vital component of your electric bike. Proper care will significantly extend its lifespan and maintain its performance.
1. Use the Correct Charger
Only ever use the charger that came with your bike. Using an incompatible charger is dangerous and can damage the battery.
2. Charge in a Safe Place
Charge your battery indoors at room temperature, away from flammable materials. Avoid charging in extreme cold or heat.
3. Don't Run it to Zero
Try not to let your battery drain completely empty on a regular basis. It's healthier for the battery to be topped up after a ride. Aim to keep it between 20% and 80% for daily use.
4. Don't Leave it on Charge Indefinitely
While most modern chargers have an auto-shutoff, it's good practice to unplug the battery once it's fully charged. A full charge typically takes between 5-7 hours.
5. Long-Term Storage
If you won't be using your bike for several weeks or months, store the battery with around 40-60% charge in a cool, dry place.
By following these simple rules, you can ensure your battery serves you well for thousands of miles.
Now you have the knowledge, the open road awaits your new electric adventures.
Frequently Asked Questions
1. Do I need a licence or insurance to ride an electric bike in the UK?
No, as long as your e-bike meets the 'electrically assisted pedal cycles' (EAPC) requirements, you do not need a licence, insurance, or to register it. The key requirements are that the motor must not exceed 250 watts of power, and the electric assistance must cut out when you reach a speed of 15.5 mph (25 km/h). The motor should only engage when you are actively pedalling. If your bike meets these standards, you can ride it on roads and cycle paths, just like a conventional bicycle.
2. Is it safe to ride my e-bike in the rain?
Generally, yes. Most modern electric bikes are designed to be water-resistant and can handle being ridden in the rain. Look for an IP (Ingress Protection) rating, such as IP54, which indicates protection against water splashes from any direction. However, they are not fully waterproof. You should avoid deep puddles that could submerge the motor or battery housing. After a wet ride, it's always a good idea to wipe the bike down with a dry cloth, paying special attention to the electrical components and display to prevent corrosion.
3. How do e-bikes handle hills? Will it do all the work for me?
E-bikes are exceptional at climbing hills, but they won't do all the work for you—they assist you. The key is to anticipate the hill. Before the incline begins, shift into a lower (easier) gear and increase your pedal assist (PAS) level to a higher setting. This combination allows you to pedal at a comfortable cadence while the motor provides the significant power needed to ascend the hill with ease. It effectively flattens the climb, removing the strain and sweat associated with hill climbing on a regular bike.
4. What basic maintenance does an e-bike require?
E-bike maintenance is very similar to that of a regular bicycle, with a few key differences. You should regularly check your tyre pressure, clean and lubricate the chain, and inspect your brake pads for wear. Because e-bikes are heavier and faster, brake pads can wear down more quickly. Beyond that, the main e-bike specific task is caring for the battery as outlined in this guide. Keep electrical connections clean and dry. For any motor or electronic issues, it is always best to consult a professional bike mechanic who is certified to work on electric bikes.
5. I see some bikes have a 'torque sensor' and others have a 'cadence sensor'. What is the difference?
This is a crucial difference that dramatically affects the ride feel. A cadence sensor is a simple on/off system; it detects if you are pedalling and tells the motor to deliver a fixed amount of power for your selected assist level. This can sometimes feel a bit jerky or unnatural. A torque sensor, on the other hand, is much more sophisticated. It measures how hard you are pressing on the pedals. The harder you pedal, the more assistance the motor provides. This results in an incredibly smooth, intuitive, and responsive ride that feels like a natural extension of your own power. It also tends to be more efficient, improving battery range.
